

Dream Weaver.
/Anytime you try something new there are many feelings shooting through your mind. Can I do this? How do I do this? What if I screw up? You think you prepare by researching and reading but there comes a time when you just have to jump. After hoping to recreate the original weave on the Italian chiavari chair set then not finding any instructions for it, I decided to stop racking my brain trying to recreate the wheel and just do a weave I had instructions for. Moving forward, I started the first chair.

Step 1. Fill in the front corners as the chair is wider in the front than the back. I counted the old seat fills and followed that lead.
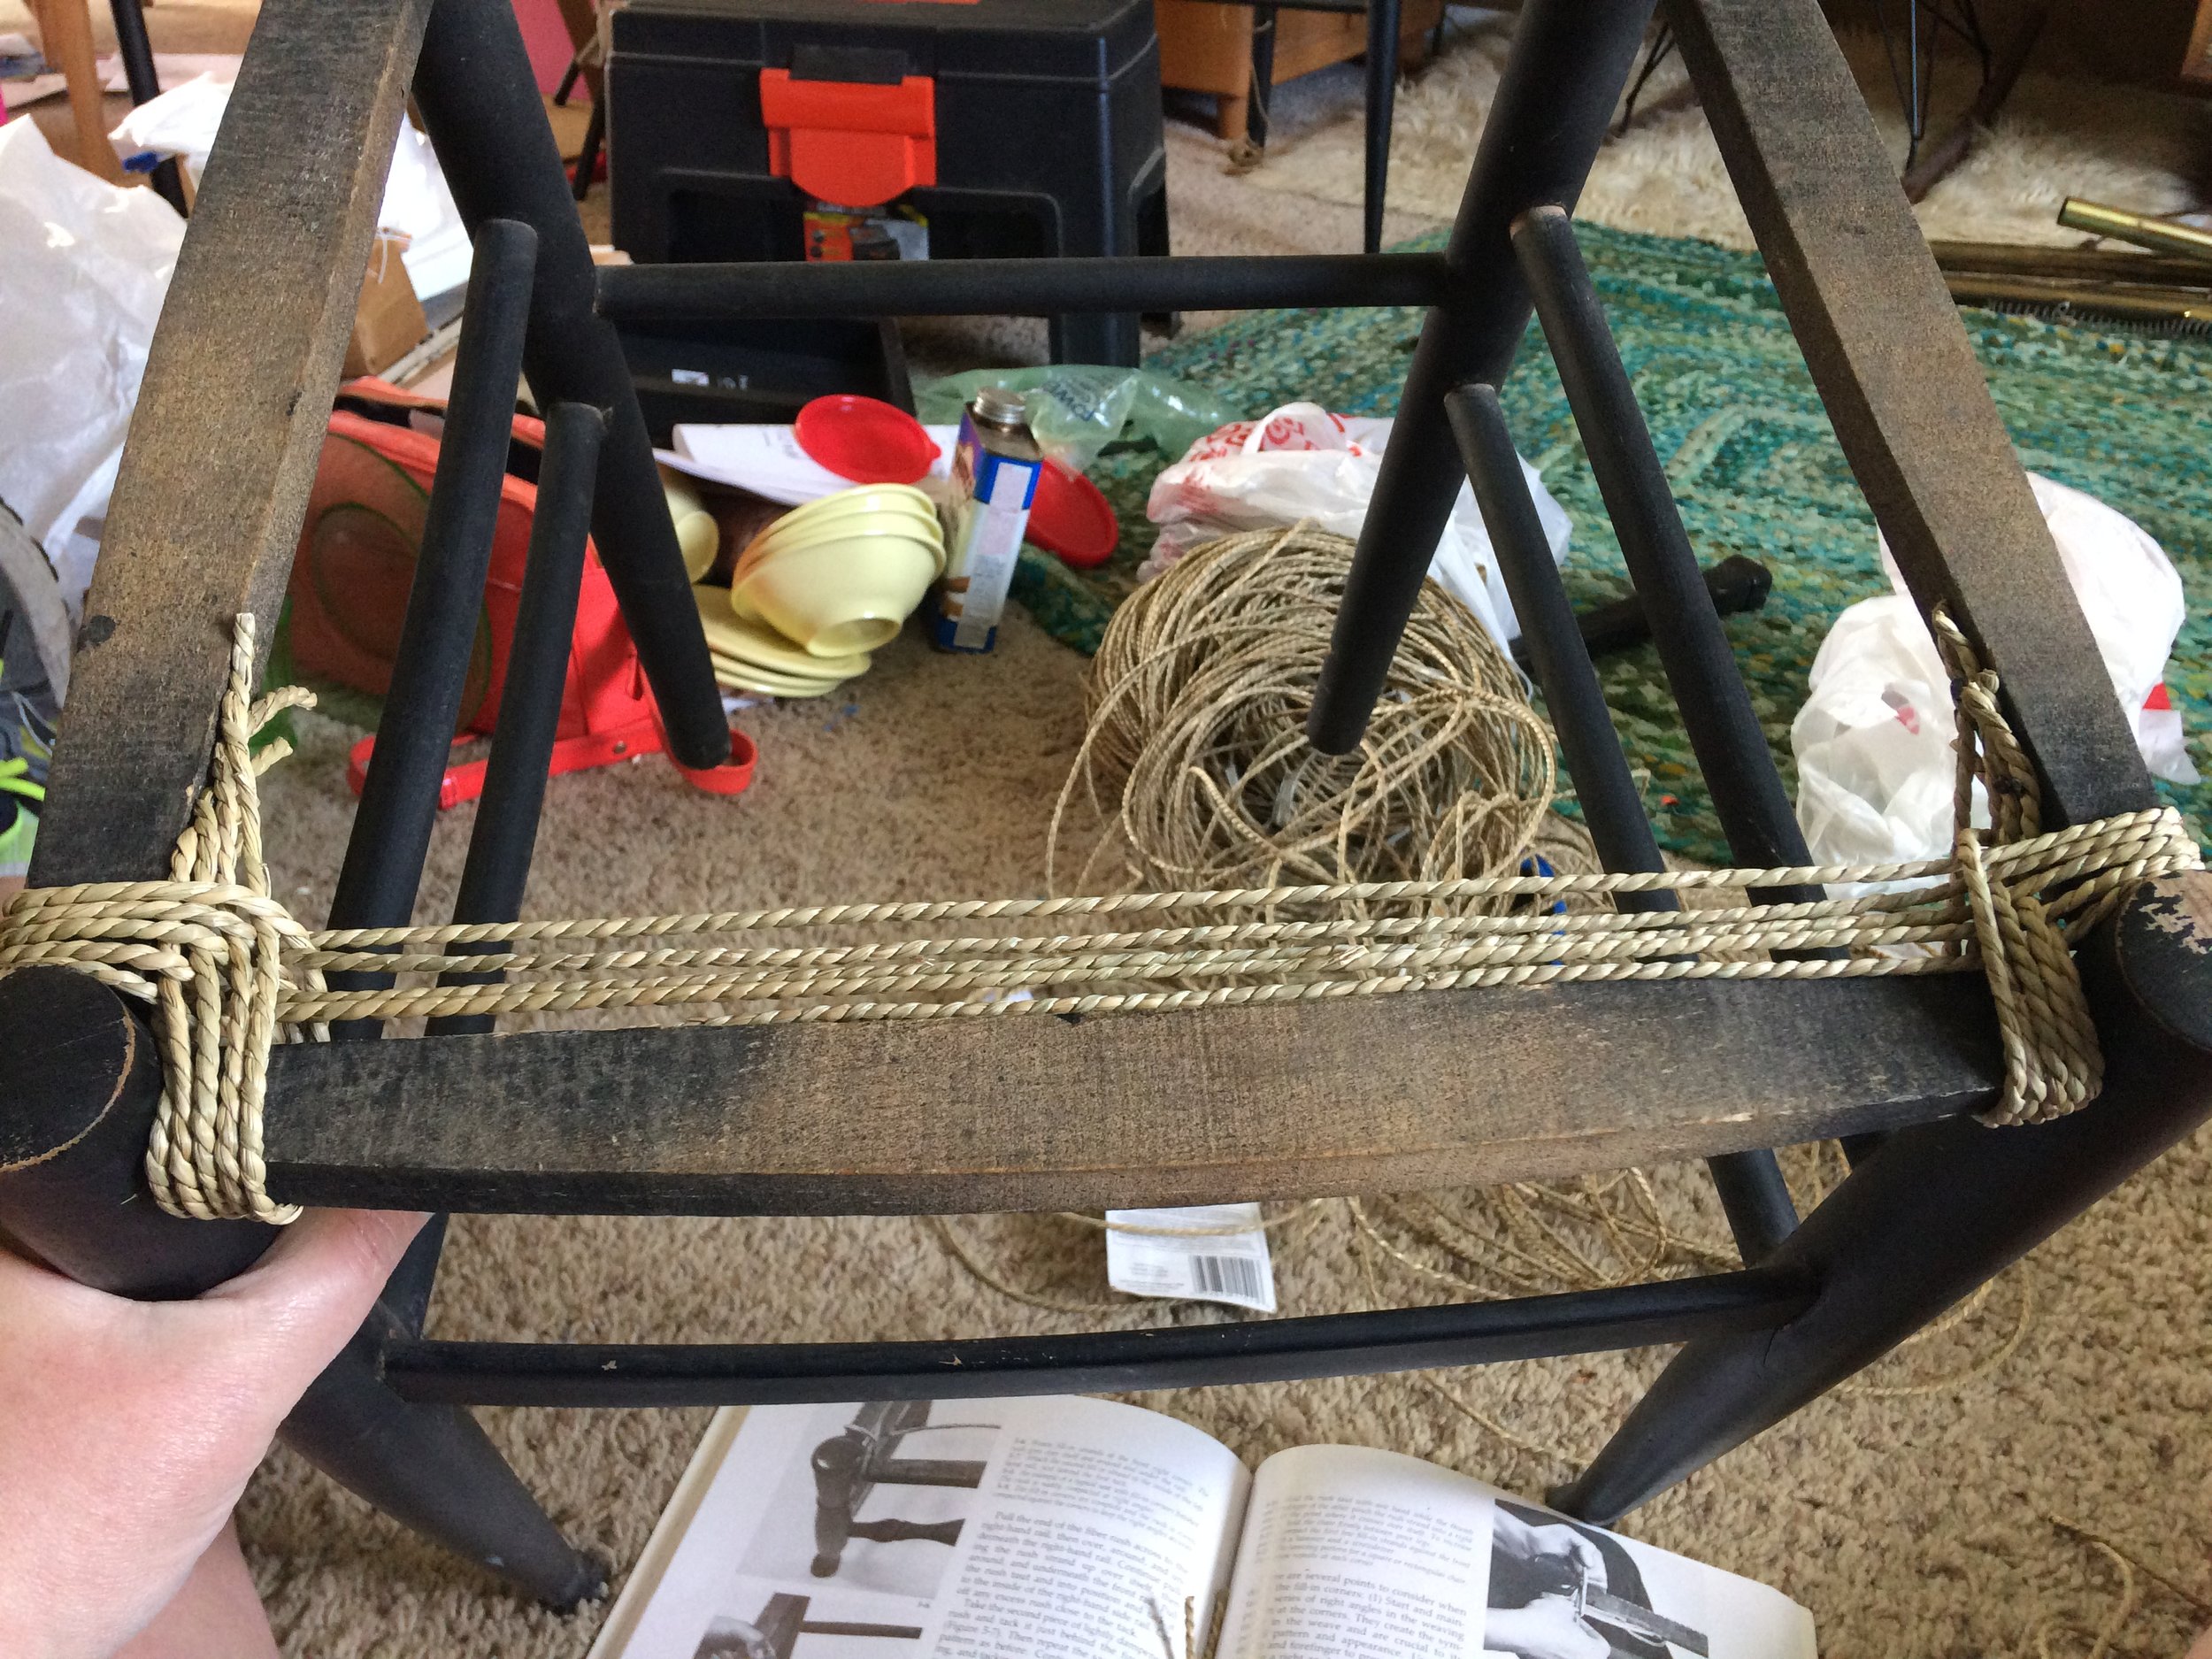
Each string is tacked on both sides in this step.

Moving on, the next step weaves around the 4 corners. It is pleasant going for the most part. When you run out of cord, a square knot is used to attach the next piece.

Continue going around until about 1/3rd left.

At this point, triangular pieces of cut cardboard are inserted in the pockets to full out the seat and add additional support.
Continue weaving until the sides are filled. Then use a figure 8 stitch to finish off the seat.

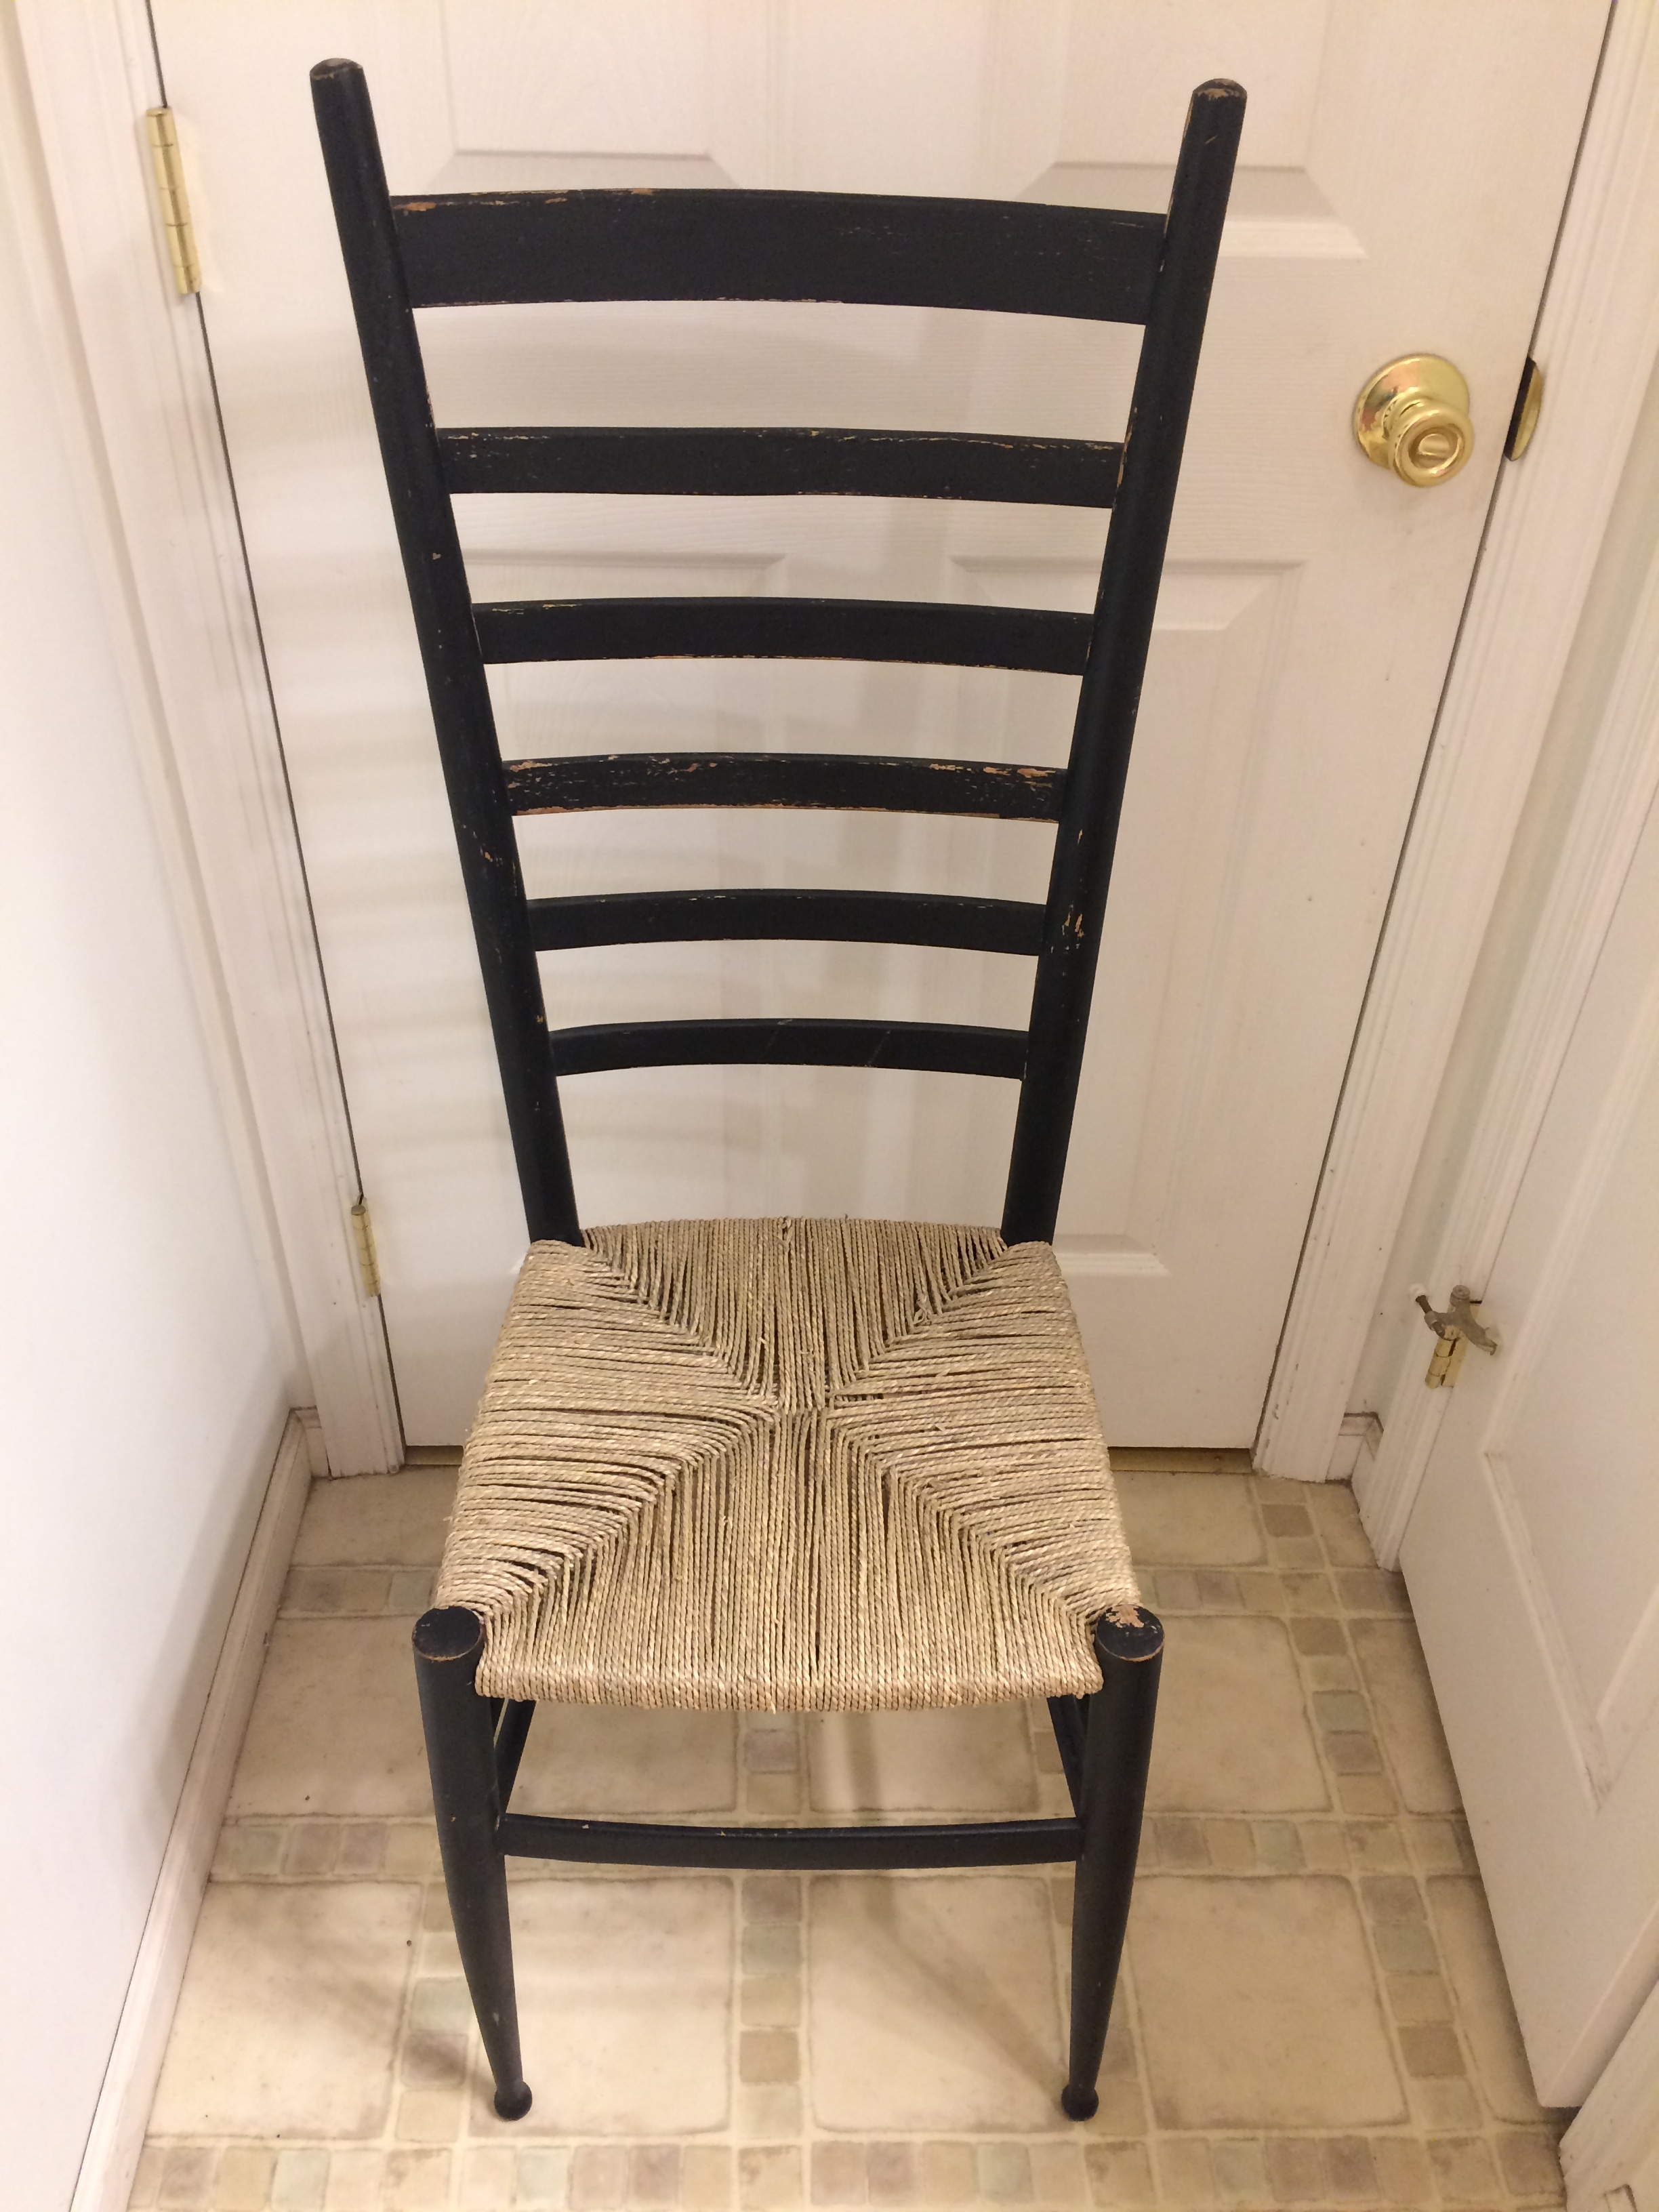
My first chair took about 14 hours. I hope to gain some speed as I move through the next 3!

I am happy overall but hope to get faster and better as I go!
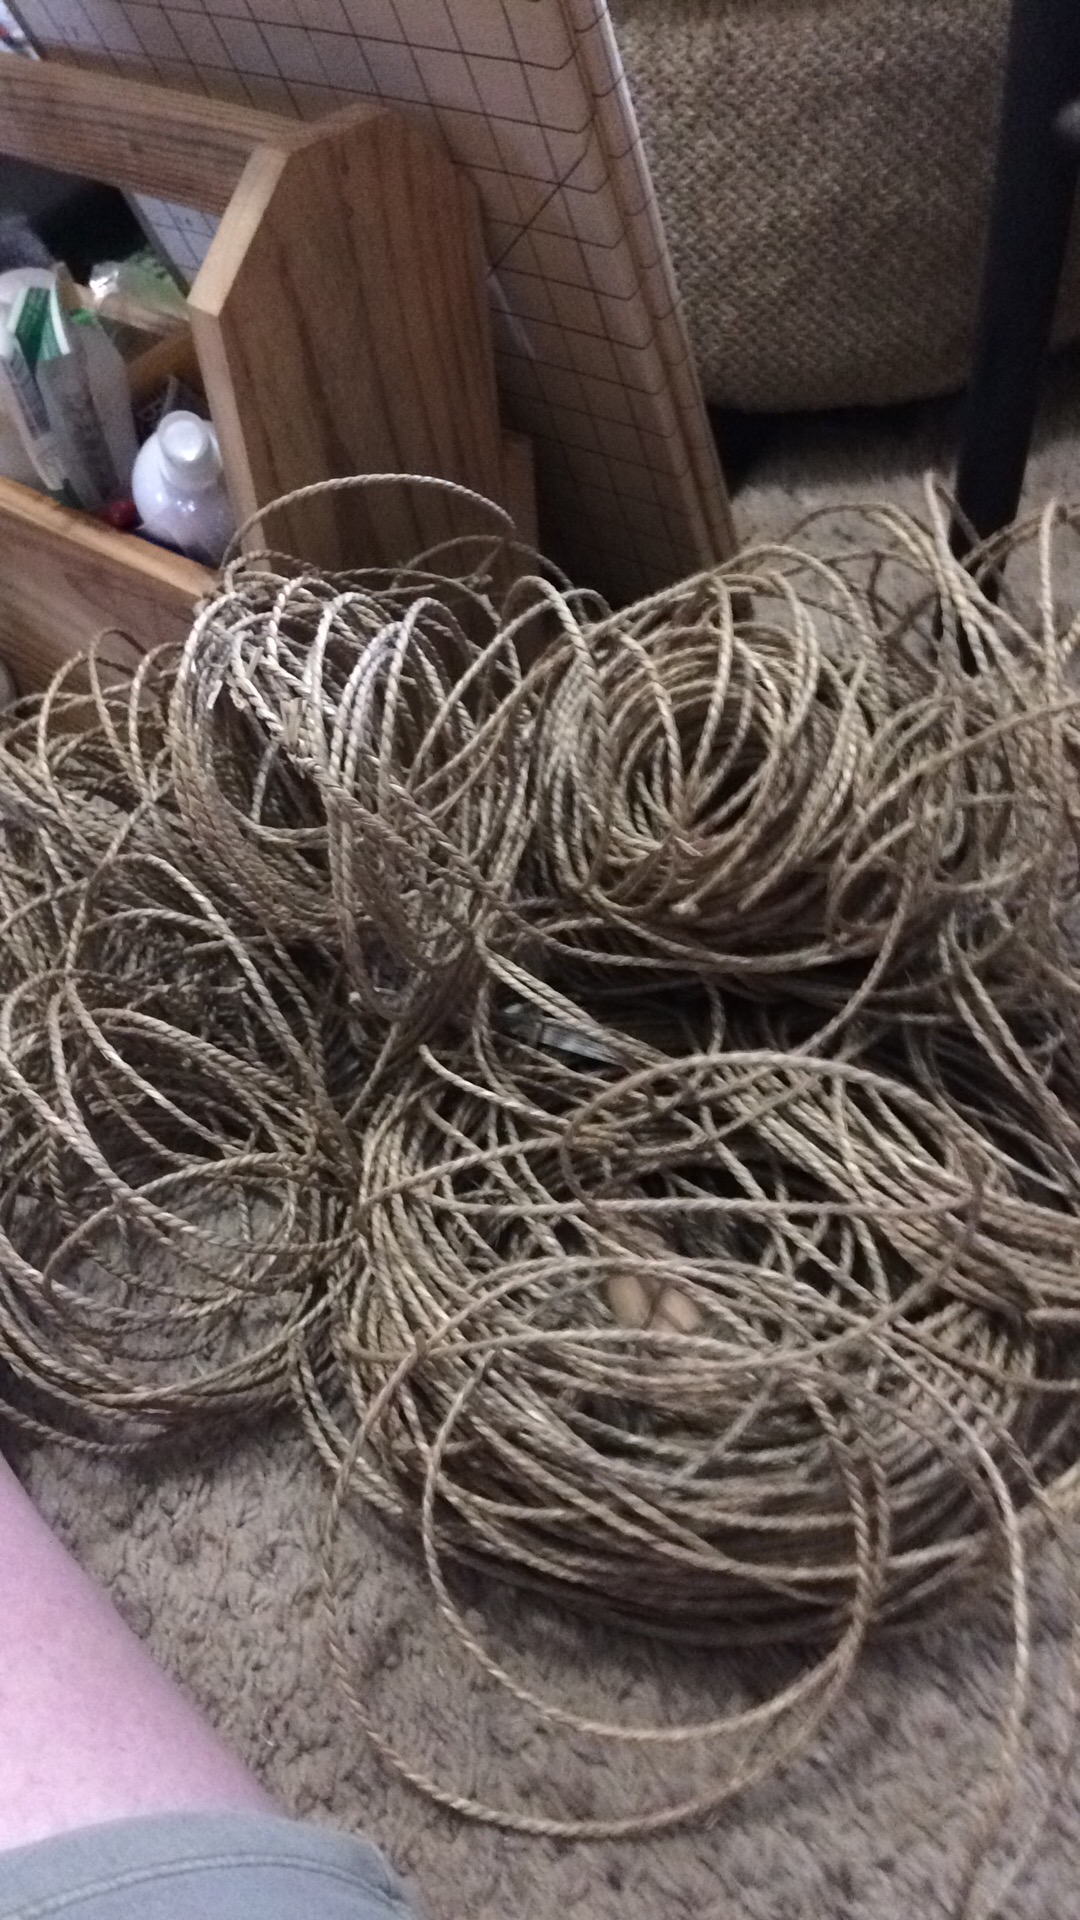
Oh, and did I mention there is no way to prevent the rats nest??! 😂
I am not sure if I will attempt this for others, but I do have one person in line if I decide to rehab to order! 😂🤘🏼
Heading out for a one nighter camping trip Saturday but will be available sporadically up until we leave. Can't wait to sleep in the Vanagon! 🚐
Have a great weekend!
Malissa